
Installing Blackfire on multiple servers
At Happyr, we have about 30 applications running across 14 Amazon EC2 servers and a lot of Lambda functions. Most of them are small microservice applications that are rarely updated with new features. We’ve installed and configured the applications so we can run Blackfire’s profiler on each of these applications. Blackfire’s internal architecture allows us to install the profiler in a clever way, compared to other profilers I’ve tried.
This article will go over how to install Blackfire when you have multiple servers and give you very concrete examples with Amazon. I’m extra excited for this tutorial because it will work perfectly with the upcoming Blackfire APM.
The basics
In the Blackfire installation documentation you can read that Blackfire consists of 4 parts. First of course are the Blackfire server. They receive all data and create a nice dashboard for you.
There is also an Agent than runs on our cloud that prepares and cleans the data from sensitive information and sends it to the Blackfire servers.
Then there is a PHP extension that collects the metrics from your application and sends it to the Agent.
Finally there is a Client that can start the profiling. There are two clients that you are most likely to use; a browser extension and a CLI tool. The client is used to make sure that only authorized users (you) can start profiling.
Install
When installing Blackfire on multiple servers, you do not need to have multiple instances of the Agent. You may have one agent for all your applications. You just need to install the PHP extension on all servers and configure the extension with the IP address to the machine that is running the Agent.
Installing the agent
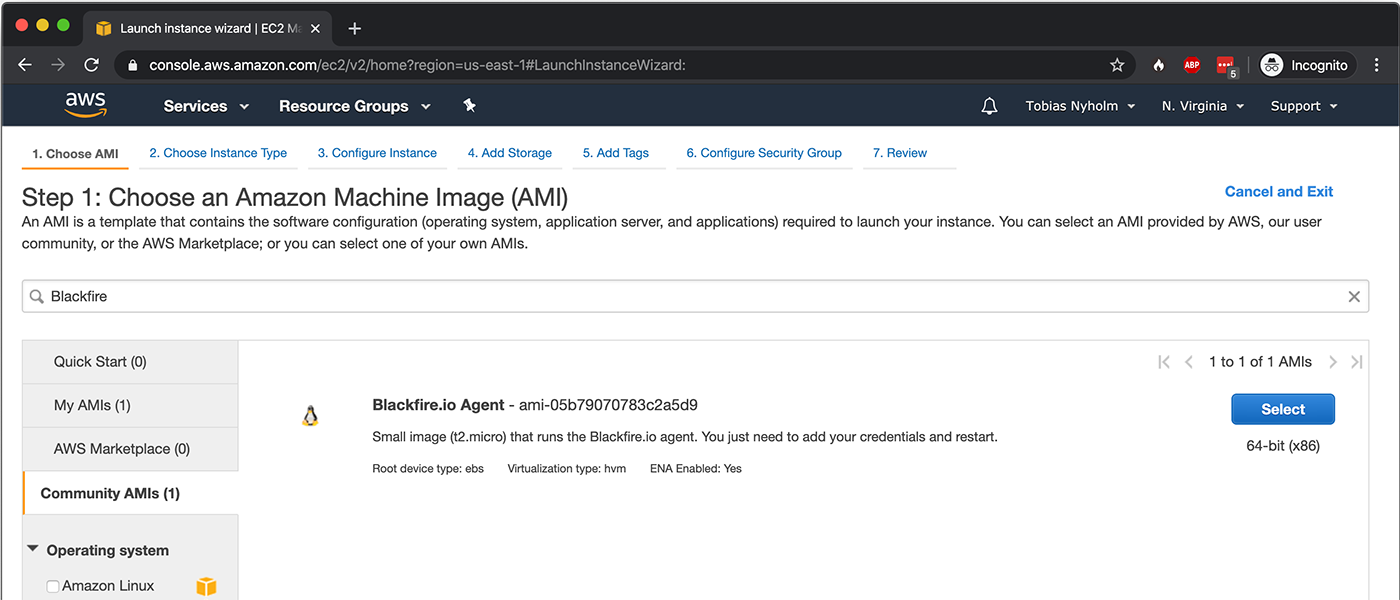
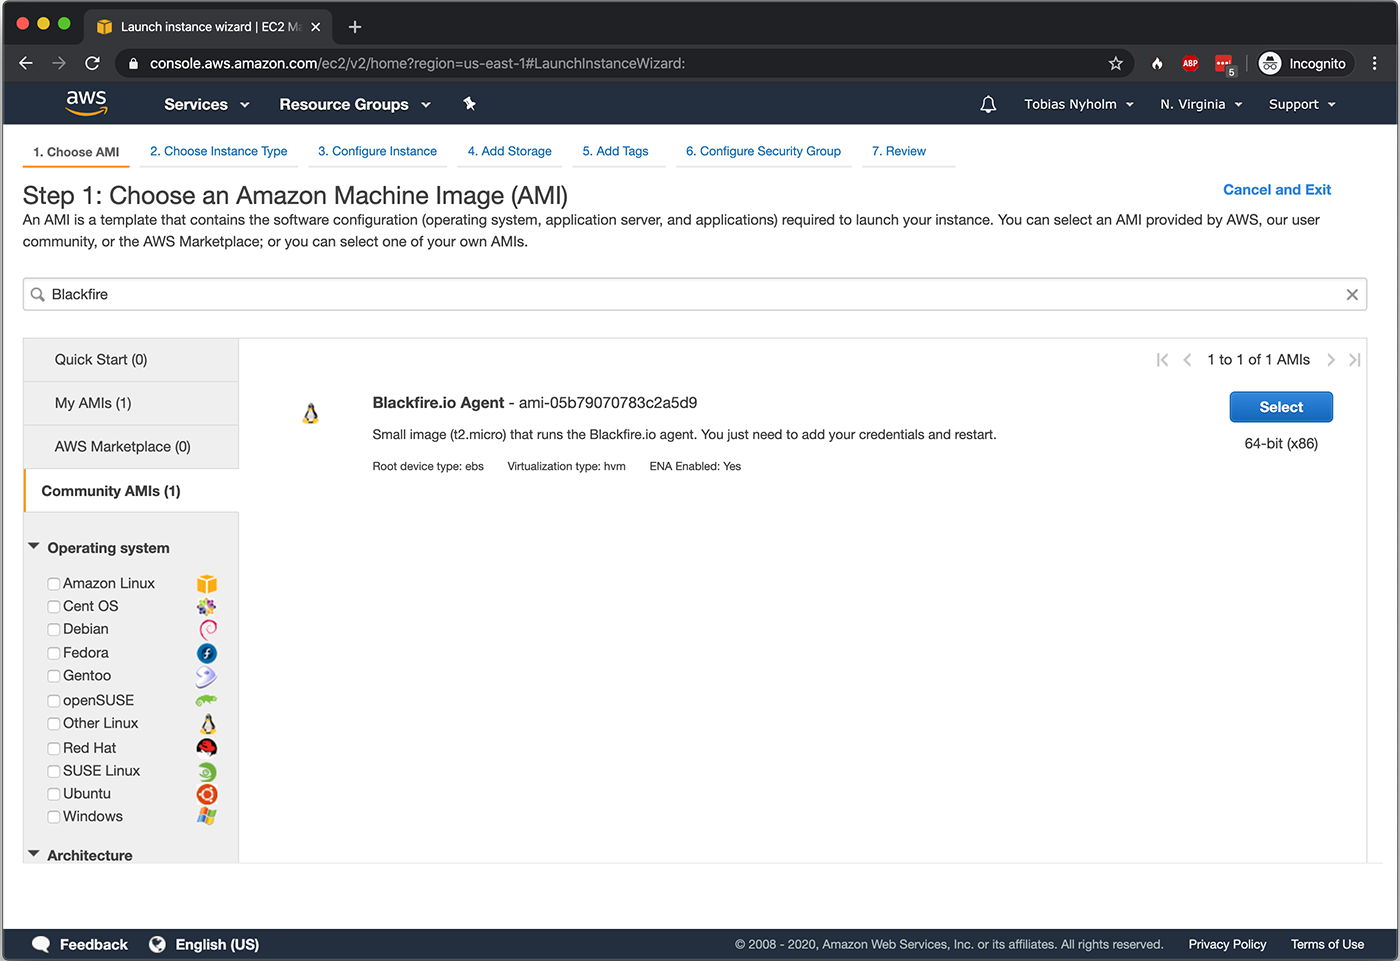
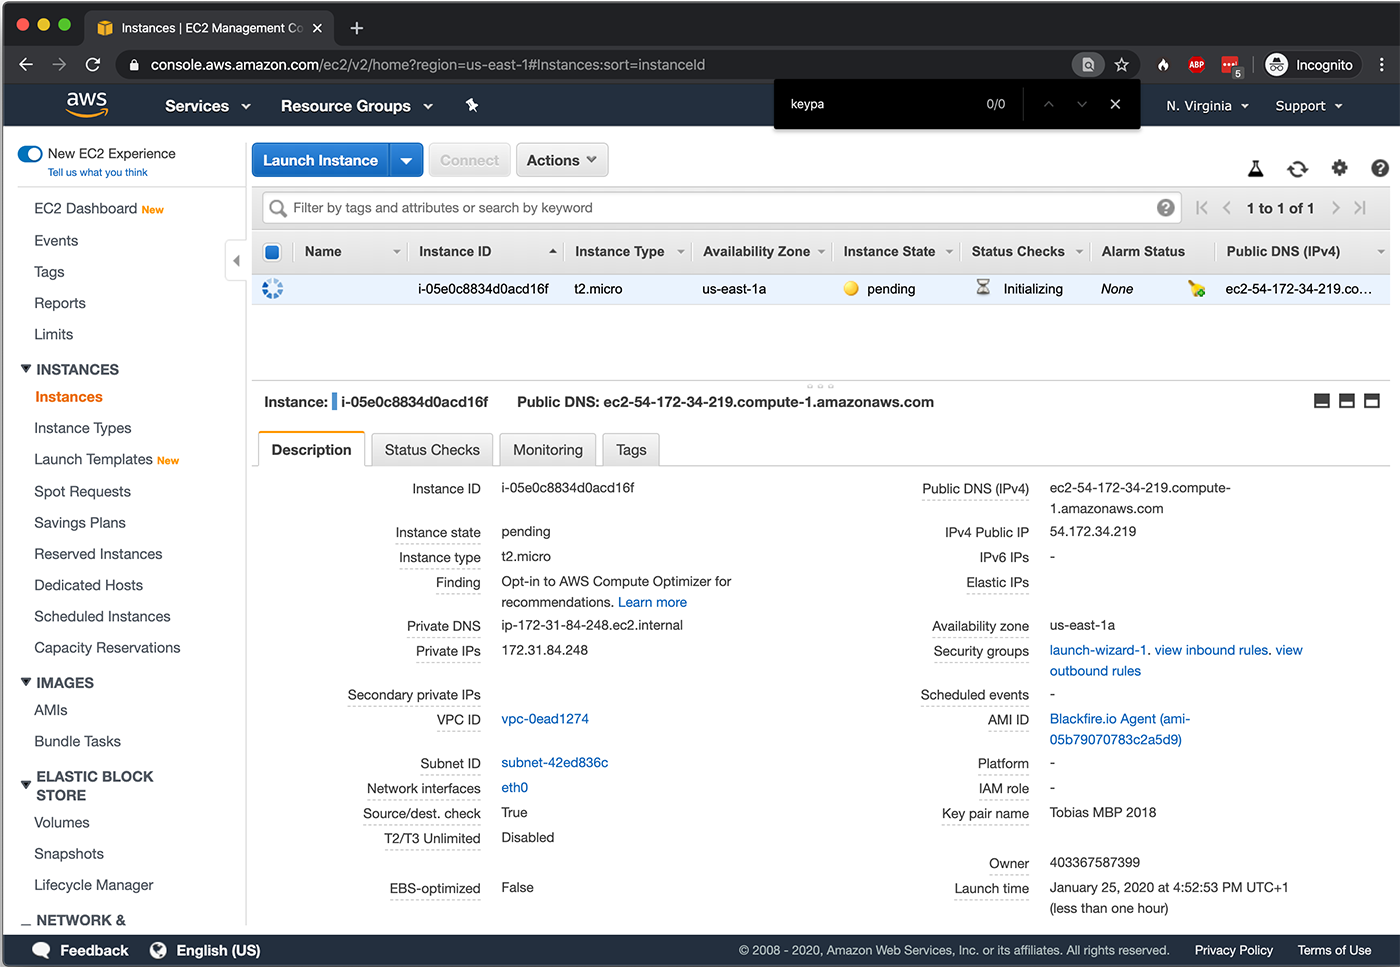
Login to your AWS Console, navigate to EC2 and create a new instance. The first step is to select an AMI. Instead of selecting Ubuntu or something similar, search for “Blackfire” in the Community AMIs and select “Blackfire.io Agent”.
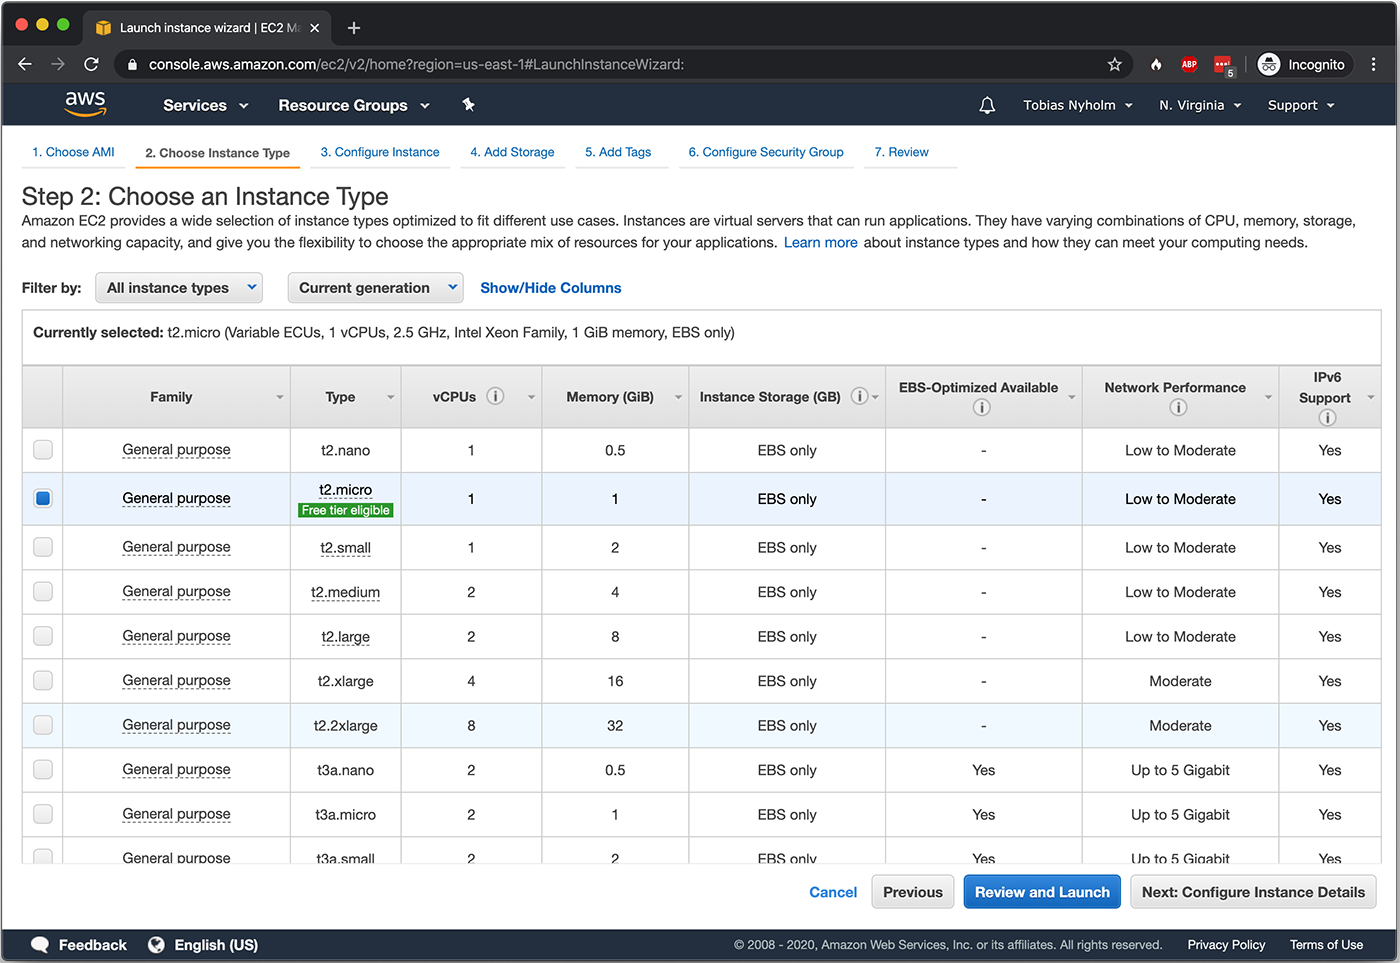
Then it is time to select the instance type. The agent does not need much computing power, running with t2.micro is perfect.
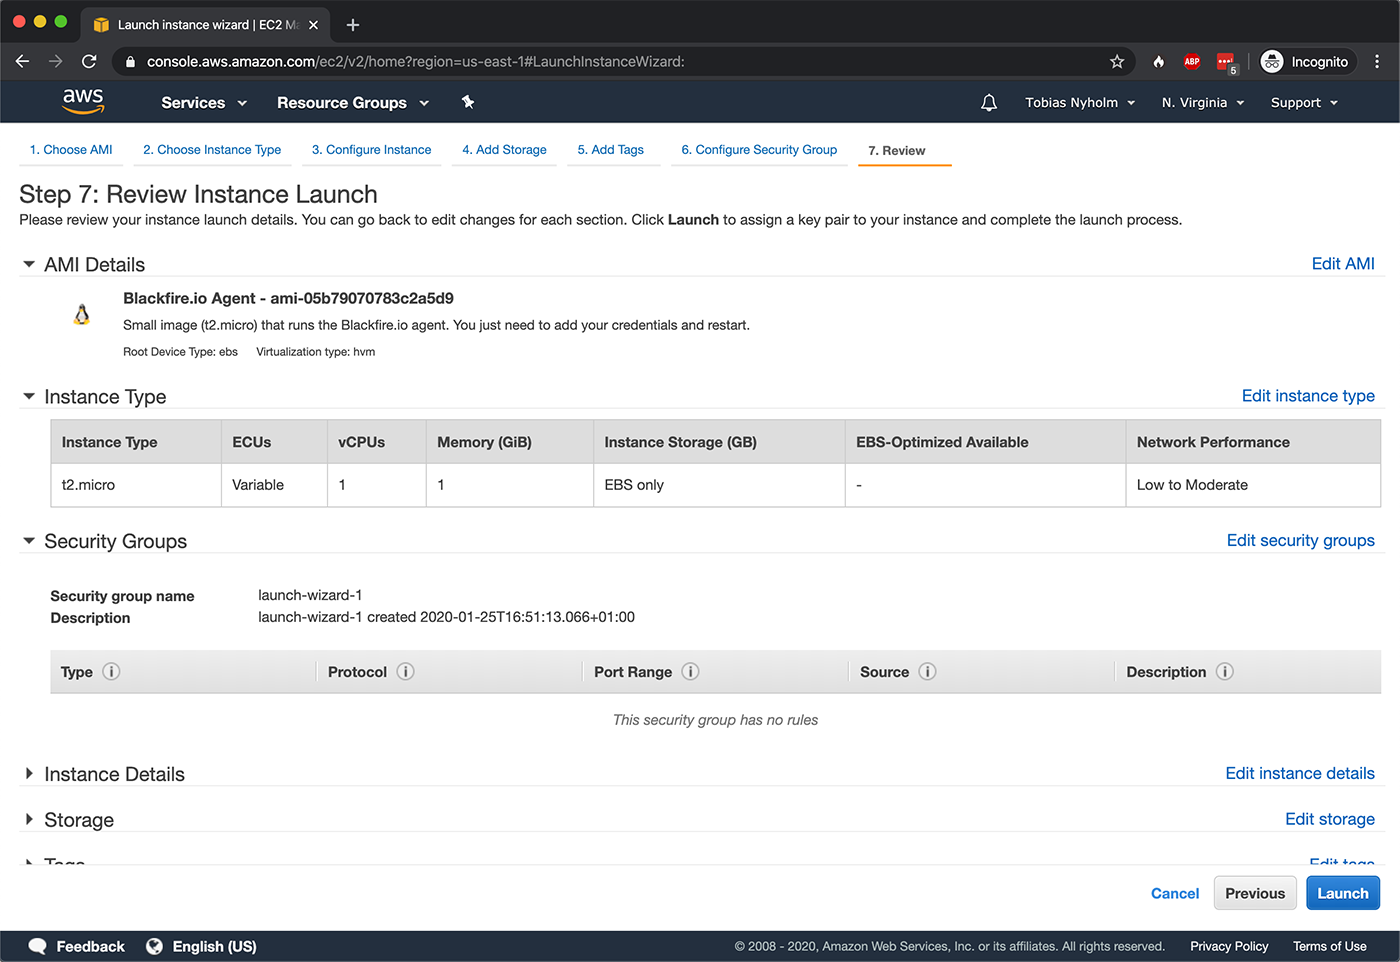
Review and launch your instance. Use a SSH key pair that you that you have access to because you will need to SSH into the instance.
Now we wait a minute for the instance to be ready…
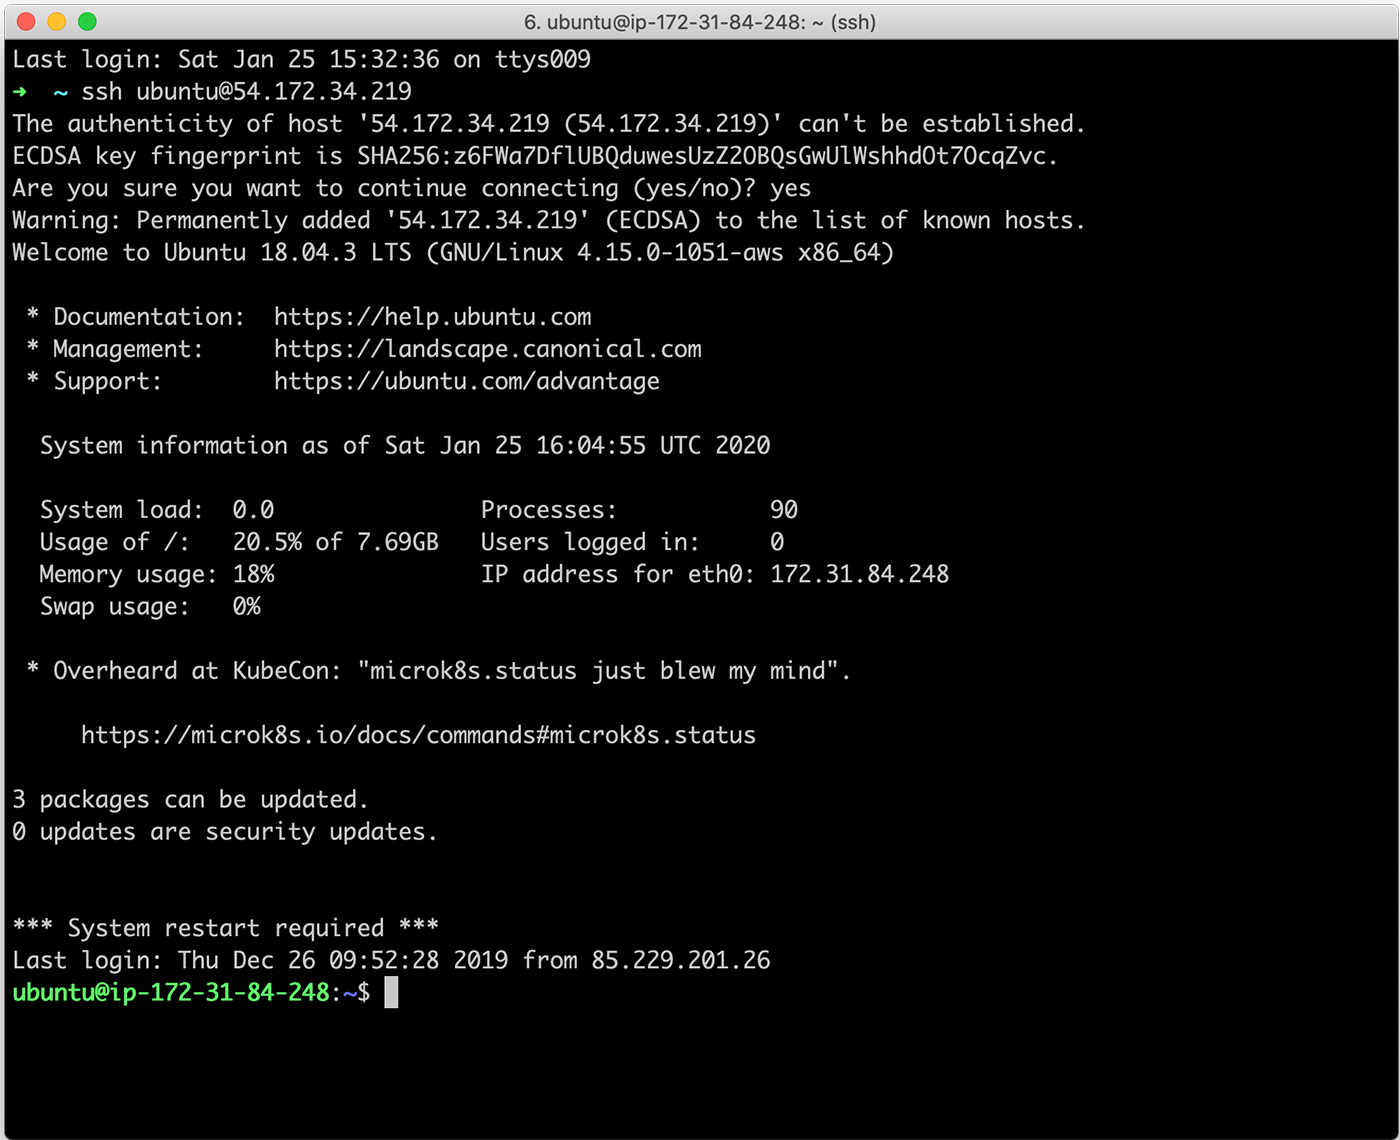
When instance state is “running” we can SSH into the machine. You need the instance’s public IP address for SSH, but note the private IP too. We will use it later. The instance in the screenshot below has public IP 54.172.34.219 and private IP 172.31.84.248.
When we have logged into the instance, we should update it and configure it with the server token related to your Blackfire account. You find the correct command in the section “Configure the Agent” in the Blackfire installation guide.
sudo apt-get update
sudo apt-get upgrade
sudo blackfire-agent --register --server-id=xxxxxxxx --server-token=yyyyyyy
sudo /etc/init.d/blackfire-agent restart The agent is already configured to accept connections from any IP on port 8307. This is safe as long as port 8307 is not accessible from the internet. (Only port 22 is accessible from the internet by default.)
We are done with the agent now. Next up, we need to install the PHP extension and configure it to send data to the agent on the private IP 172.31.84.248 and port 8307.
Installing the PHP extension
There is nothing really special when installing the extension. The Blackfire installation guide covers this really well.
If you are using Bref to deploy your application on AWL Lambda then you may be interested in this repository to install the Blackfire extension.
Configure the PHP extension
We need to modify php.ini to add the following parameters to tell the extension where to send the data. We should use the private IP of the Agent’s instance as we noted before.
blackfire.agent_socket = tcp://172.31.84.248:8307
blackfire.agent_timeout = 0.25
And of course restart PHP-FPM to make the changes visible.
Try it out
Now you only need to install a client (eg Blackfire’s browser extension) and you are ready to profile your production applications.
Troubleshoot
If it does not work for you. Make sure that you application has connectivity to the Agent. The easiest way is to put the agent in the same VPC as your application, then create a Security Group that allows communication to the agent’s port 8307 from the application.


Leave a Comment